Weird first post for this blog, but it's what I'm doing right now, so I thought I'd share!
There are lots of ways to take photos for your products. There are definitely more "correct" ways than the way I do it. I have better set-ups at my disposal, and I might share those in another post. However, I have limited space, so I can't have a photo studio set up permanently, and I find that I am a lot more likely to actually take the photos, edit them and post the items to my shop if I use a simpler set-up. A few years ago, I stumbled on a product called Foldio that is about as simple as a desktop photo studio can get.
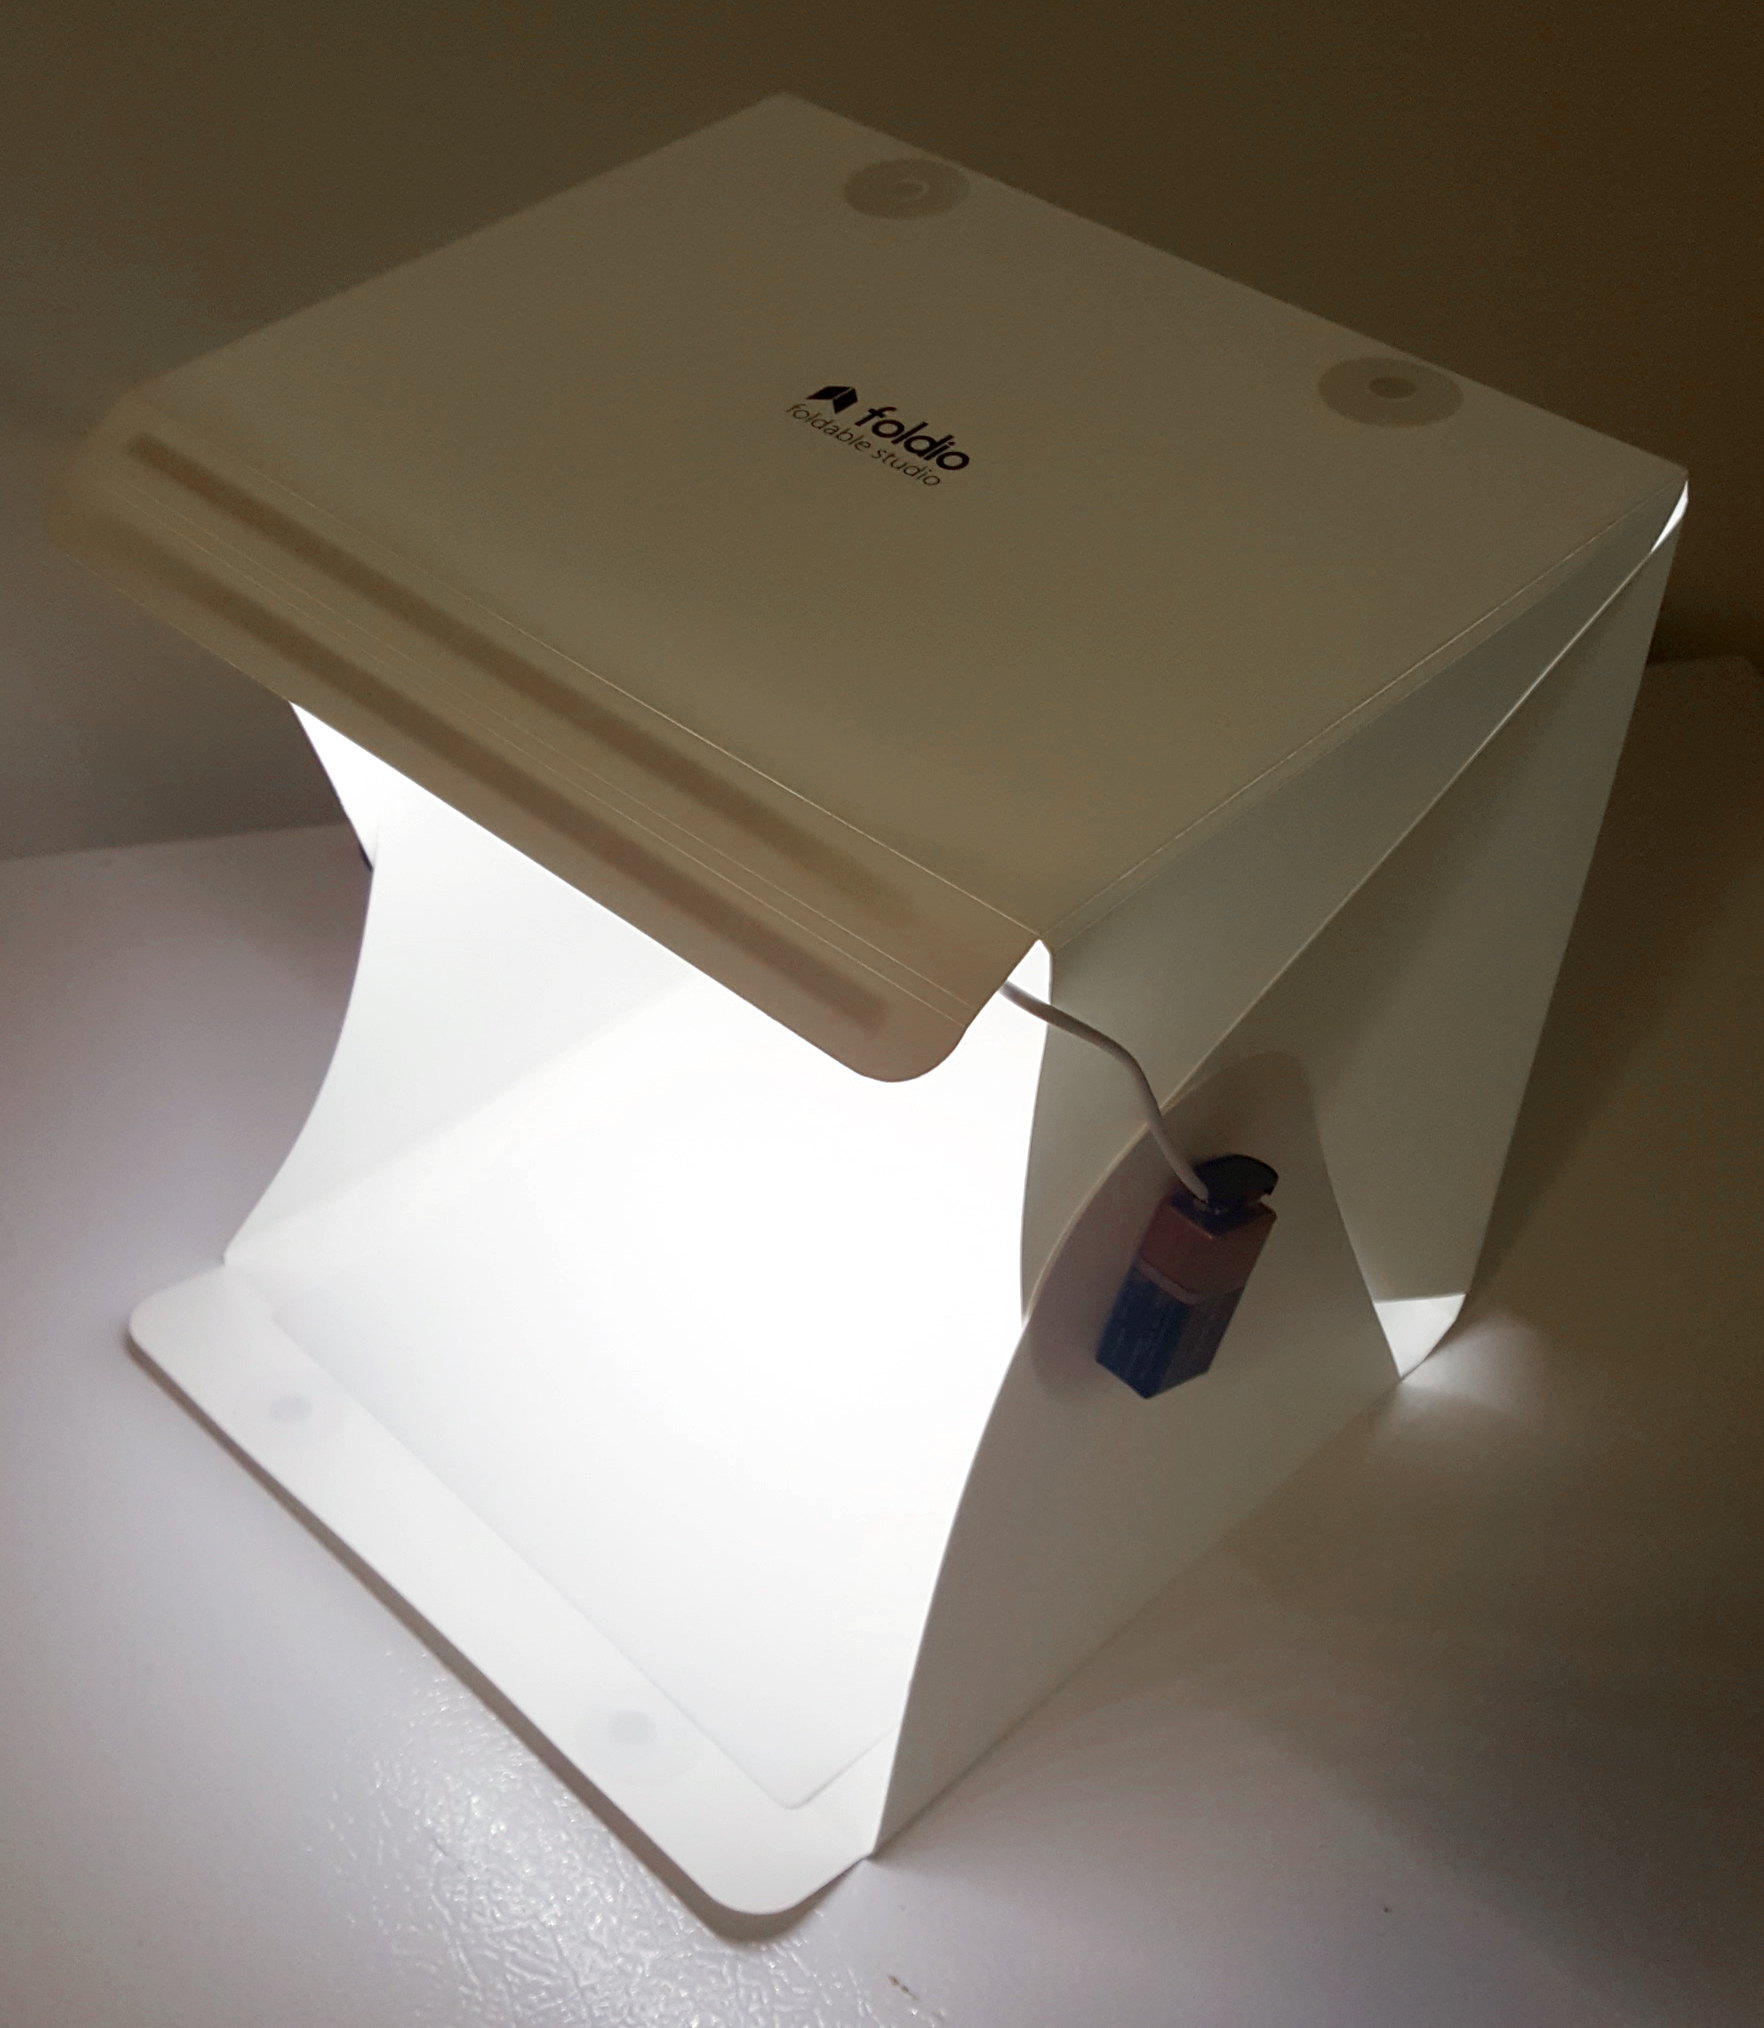
This is my Foldio. It's an older model, probably about 3 years old. Newer ones seem to have more lighting options and USB power. Apparently there's also an app now. I haven't used it.
The Foldio is a collapsible white box with 2 led strips built in. It can be set up and put away in seconds, and it packs flat, so it easily fits in drawers, in backpacks, on bookcases, standing up between my desk and filing cabinet... It once got lost behind my soldering table for longer than I care to admit.
It isn't ideal for taking photos of larger, reflective objects because the light isn't diffused. I have tried diffusing the light with tracing paper and other things, but I haven't found anything that works well. It also doesn't come with backlighting (though it looks like there are add-ons for that now), which can be a problem depending on what you're photographing. I find for my jewellery there's enough light bouncing off the white background, but larger objects will cast a larger shadow and block more light.
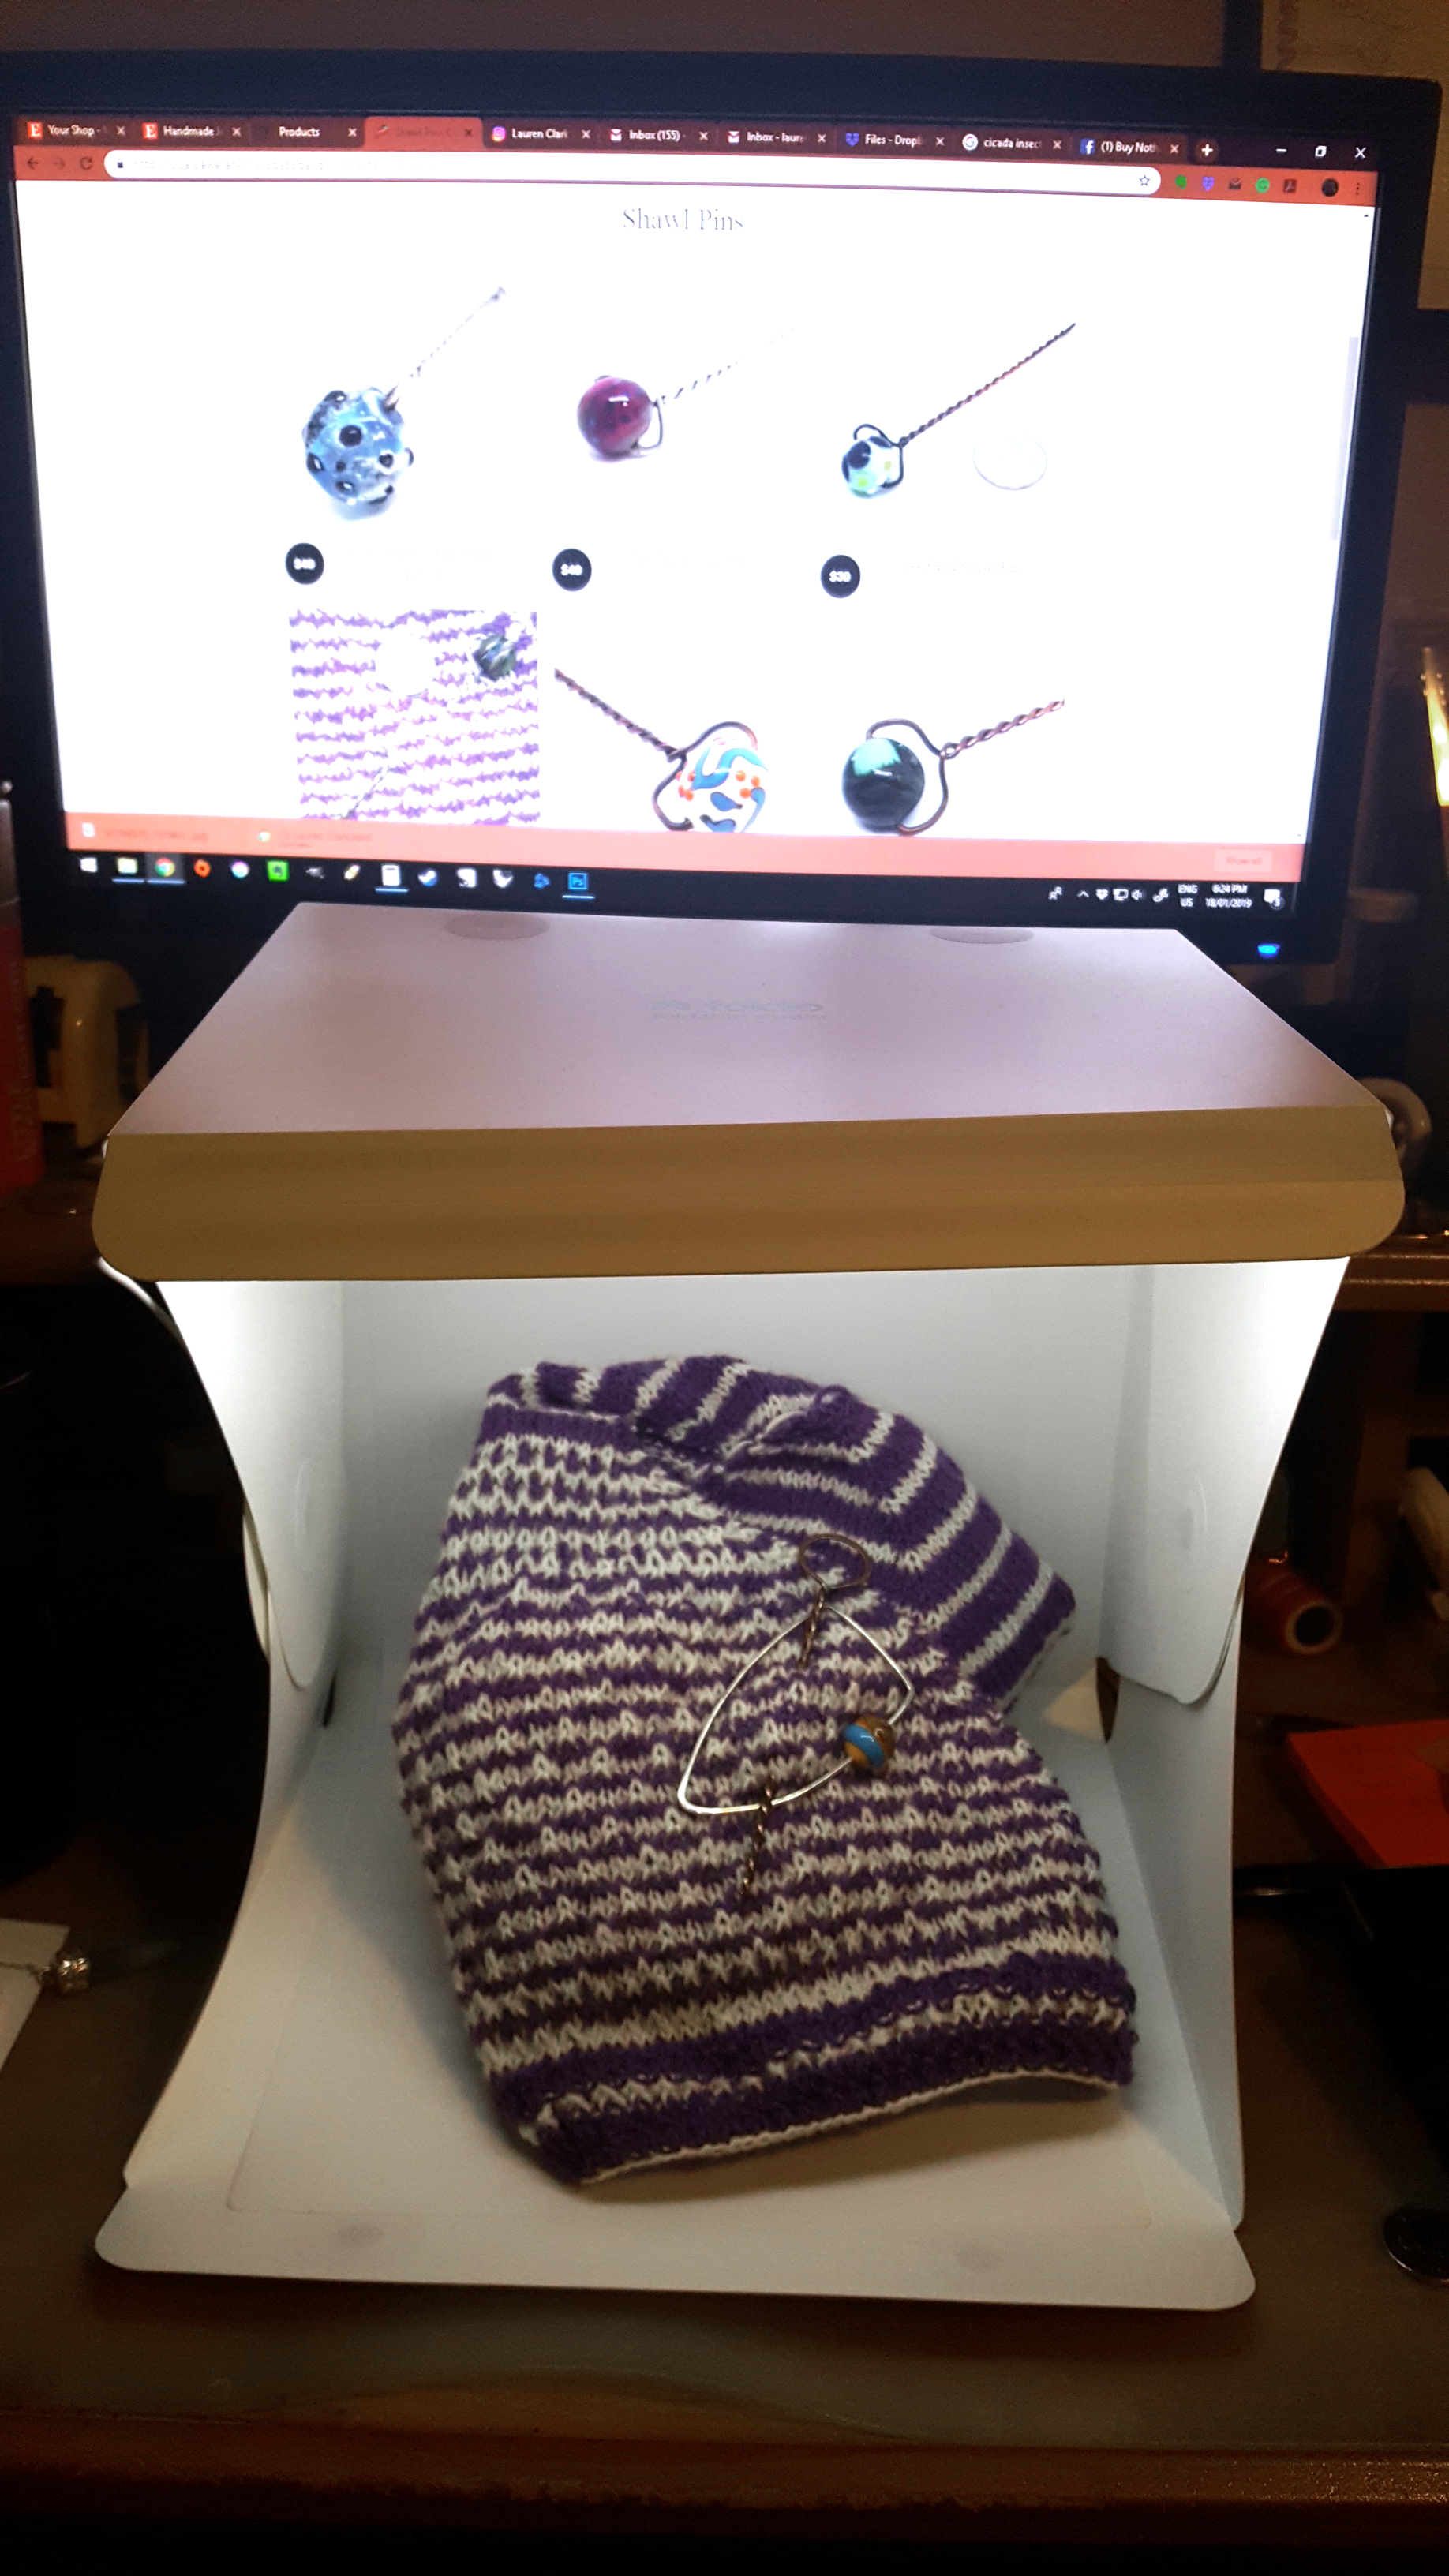
I put my Foldio right on my desk. It's handy having my computer right there to see photos bigger or edit photos and take more if I need to.
For actually taking photos, I just use my phone. I have a Samsung Galaxy S6, and the camera specs on it are way beyond the specs of my 10 year old Canon Powershot.
If you want to use an actual camera to take photos, there's nothing wrong with that. But don't pay more than you will use. A lot of people think you need a DSLR. But (speaking from experience, having worked at a photography store) most people never take the time to learn how to use all the extra features they paid for. If you are going to learn how to use it, a camera with shutter priority and aperture priority will improve your photos. Full manual mode is awesome too - again, if you're going to learn to use it. If you want to go this route, I will always recommend Canon's Powershot line. Look for something with optical zoom (digital zoom just distorts your photos). And even if you never learn how to use any other features, learn to use white balance! It will save you so much time editing.

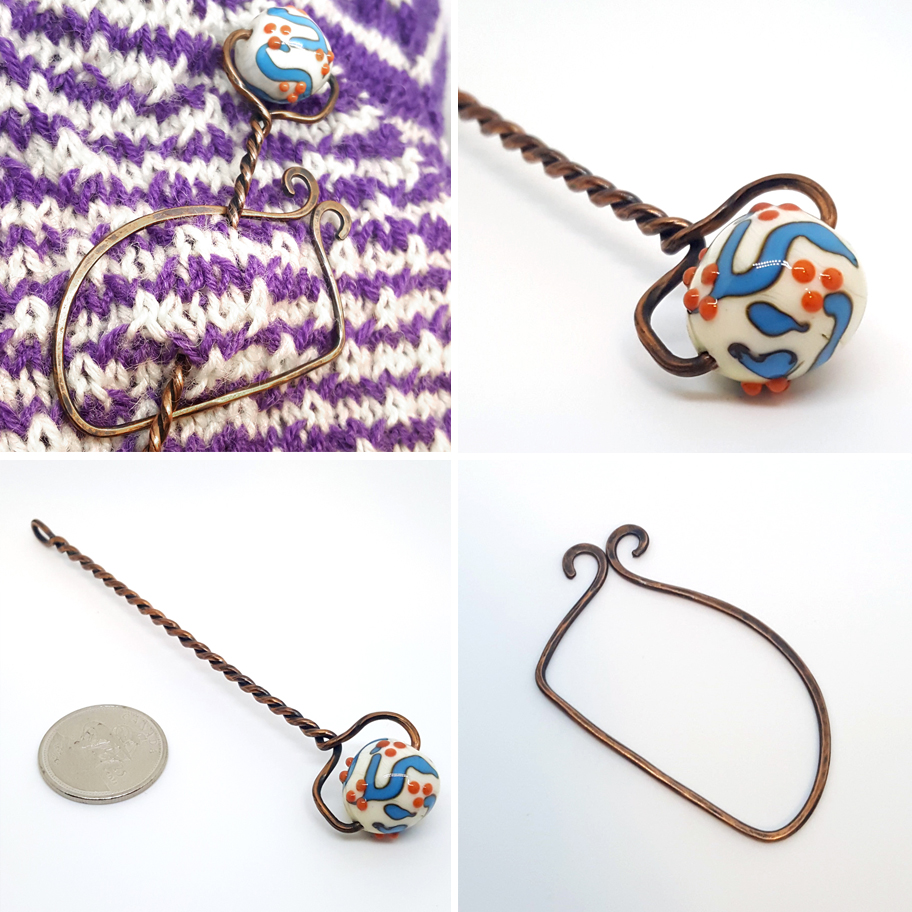
Take photos from different angles. Take photos with common objects to give an idea of size. Take photos that show the item in use. Make sure there are no "hot spots" (where the light is reflecting off the object in a way that obscures the details).
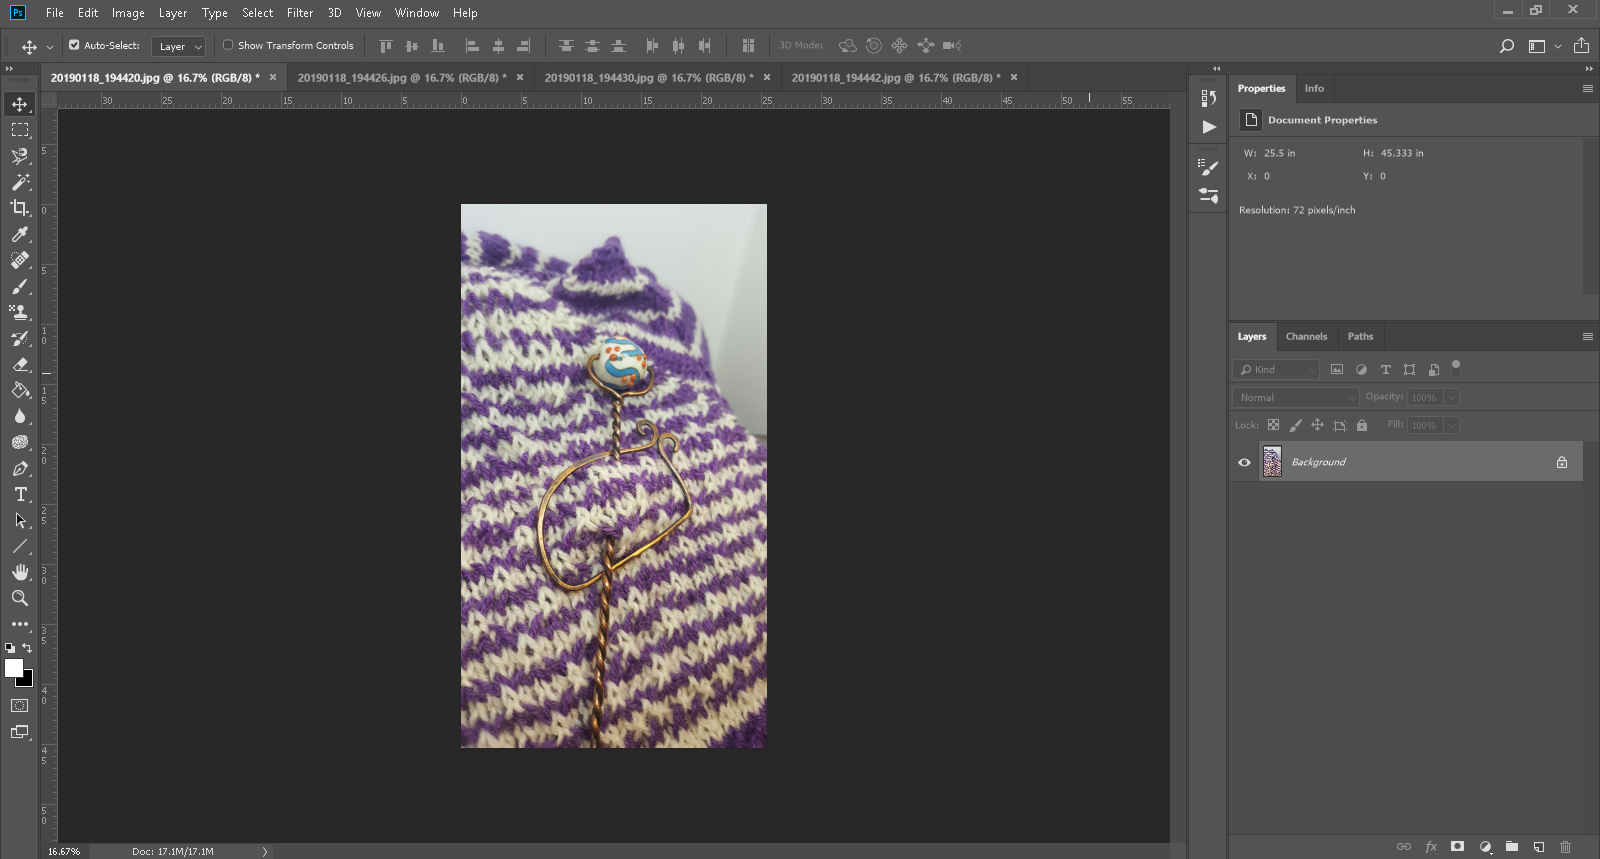
Photoshop time!
When you're done taking photos, plug your camera or phone into your computer and download the photos, preferably to a place that makes sense (Like "My Documents > Cicala Jewellery > Photos"). I like to further divide my photos folder into categories like "Earrings", "Shawl Pins", etc. It just makes it easier to find things later.
Then open whatever program you use for editing. I use Photoshop. If you're going to be doing a lot of photo editing, it's worth the cost in my opinion. There are free programs out there that will do what you need them to do (GIMP comes to mind), but they aren't as user-friendly, and there aren't as many tutorials and other resources available to help you learn how to use them. You can learn to do just about anything on photoshop from the endless number of bloggers and youtubers that use it.
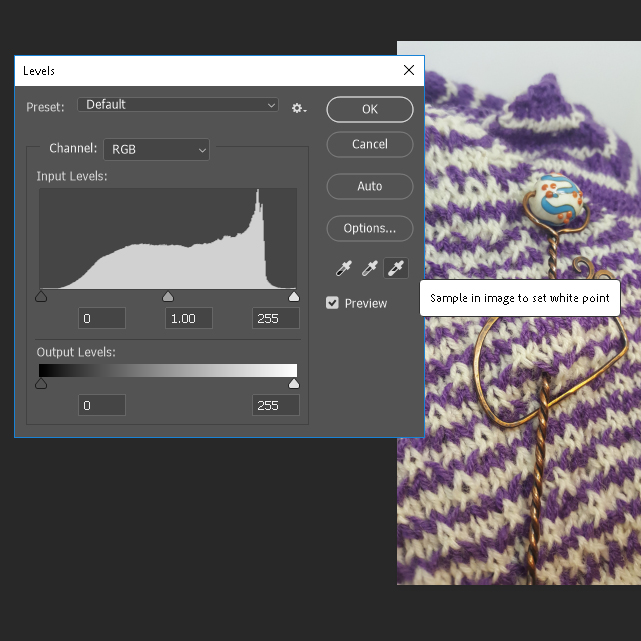
The "Levels" dialog in photoshop.
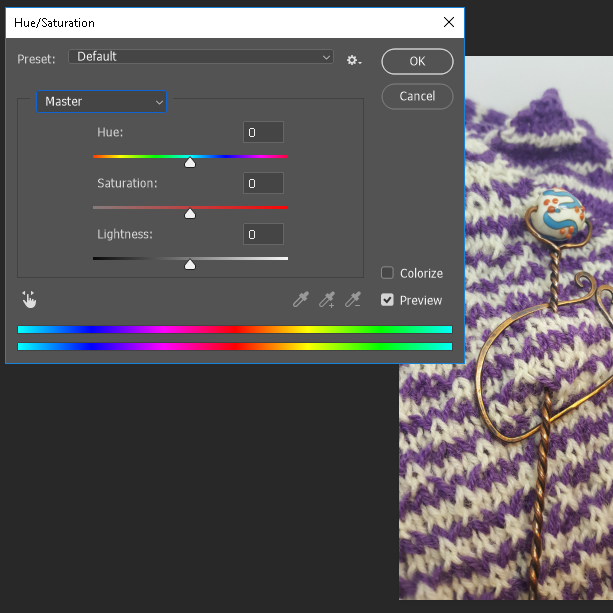
The "Hue/Saturation" dialog in photoshop.
There are a lot of useful features in photoshop, but the ones I use on every product photo are "Levels" and "Hue/Saturation" (and "crop", but that doesn't need much explanation...). Both these features are accessed by going to "Image" in the menu and mousing over "Adjustments".
The goal when you're editing photos is to make your photos accurately portray the colours of the item you are trying to sell. So first, in the "Levels" dialog, I click on the white eyedropper symbol (when you mouse over, it says "sample in image to set white point"), and then I click on a white spot in my image. This is why I mostly shoot photos on a white background. Try to pick the brightest white spot, where the light is shining off of it. If you click a part that is technically white but is in shadow, it will brighten the image too much. You'll notice the graph will change. You want to drag the little arrows at the bottom so the left one is at the beginning of the graph information (not where it's just a flat line at the bottom) and the right one is at the end. If it doesn't look quite right (if it's too dark or light in some spots), you can nudge the middle one a little too, but it's usually fine in the middle.
Now, the colours in your image probably still look a bit off, especially if you're shooting indoors (the lights tend to be yellow or blue), and this is what we'll correct with the "Hue/Saturation" dialog. By default, the drop down menu will say "Master", but you want to change it to "yellow" or "blue" and adjust the sliders. I usually rely mostly on the "Saturation" and "Lightness" sliders, because if you move the "Hue" one too much, it will throw everything off. If any of the other colours are off, I also use this dialog to fix them. Sometimes it gets a little complicated. With some of the beads from Jen Muise that I used on my shawl pins, I had to select the bead with the marquee tools to isolate it from the rest of the image so I could correct the colours without messing too much with the rest of the image.
And that's it! As I said at the beginning, it's not the most correct way of doing things, and some shortcuts are definitely taken, but it's the quickest way I've found to get everything online and get back to creating. Feel free to ask me if you have any questions, and let me know if you have any other tips and tricks.


